Tutorial: Building a password policy checker with React
In this tutorial, we will learn how to build a password policy matching function in a React application. There are many password policy implementations each with its own pros and cons.
This tutorial assumes basic knowledge of NPM, React, and Frontend Development. We will therefore not go through the installation of Node / NPM.
Setting up the project
Let's create a new react project
npx create-react-app password-policyWe will be prompted to change the directory and start our project:
cd password-policy
yarn start
You can optionally, install additional dependencies for styling, this tutorial uses bootstrap.
Password policy
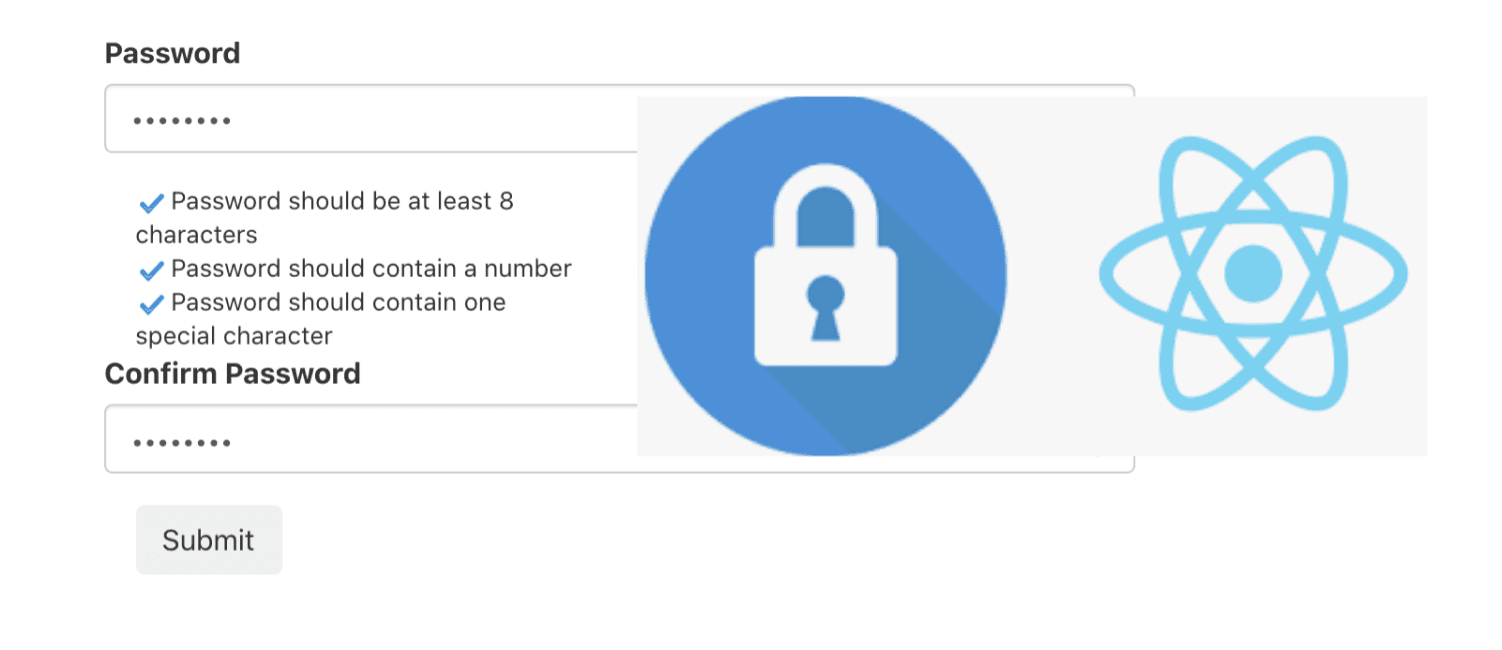
Our password policy form shown below consists of two input fields one for password and the other to confirm the password and then a button to send the password to an API.

We will use the password policy adopted from Amazon Cognito
- Minimum length, which must be at least 6 characters but fewer than 99 characters
- Require numbers
- Require a special character from this set:
= + - ^ $ * . [ ] { } ( ) ? " ! @ # % & / \ , > < ' : ; | _ ~ `- Require uppercase letters
- Require lowercase letters
In our implementation, we will require 8 characters minimum, at least a number, at least one of the special characters from the set above, an upper case character, and at least one lower case character.
Checking password validation states.
We will build two utility functions to help us achieve this. The first one receives a password string and returns an object with the validation status of each of our policies.
export function getValidationState(password) {
  return {
    minLength: {
      isValid: password.length >= 8,
    },
    specialCharacter: {
      isValid: /[\=\+\-\^\$\*\.\[\]\{\}\(\)\?"\!@#%&\/\\,\>\<'\:;\|_~]+/.test(
        password
      ),
    },
    lowerCase: {
      isValid: /[a-z]+/.test(password),
    },
    upperCase: {
      isValid: /[A-Z]+/.test(password),
    },
    containsNumber: {
      isValid: /\d/.test(password),
    },
  };
}
The second one checks whether all the required policies are met.
export function isPasswordValid(password) {
  const validated = getValidationState(password);
  return Object.values(validated).every(
    (requirement) => requirement.isValid === true
  );
}
Next, we will use these utility functions in our react application. Note that, these utility functions can be easily adapted and used in any frontend framework such as Vue, Angular, and Svelte.
Setting up the initial state of our password reset form
 const [password, setPassword] = useState("");
  const [confirmPassword, setConfirmPassword] = useState("");
  const [passwordPolicy, setPasswordPolicy] = useState(getValidationState(""));
  const [buttonStateDisabled, setButtonStateDisabled] = useState(true);
Setting up setState handlers
When an input field changes, we want to set the state of the field in our local state, in addition for the password input field, we want to check whether the password criteria is met so we set the state for setPasswordPolicy using the utility function built previously getValidationState
const handlePasswordChange = (event) => {
    setPasswordPolicy(getValidationState(event.target.value));
    setPassword(event.target.value);
  };

  const handleConfirmPasswordChange = (event) => {
    setConfirmPassword(event.target.value);
  };
We set up an additional utility function to toggle the state of our various policies.
// check and close arre svg icons
const toggleIcon = (isValid) => {
return isValid ? <img src={check} /> : <img src={close} />;
}
Setting up JSX template
   <div className="container container-overrides">
      <form>
        <div className="row">
          <div className="form-group">
            <label>Password</label>
            <input
              type="password"
              className="form-control"
              placeholder="Password"
              onChange={handlePasswordChange}
            />
          </div>
        </div>
        <div className="row pt-md-5 policies">
          <div className="col-md-6">
            <span>
              {toggleIcon(passwordPolicy.minLength.isValid)} Password should be
              at least 8 characters
            </span>
            <br />
            <span>
              {toggleIcon(passwordPolicy.containsNumber.isValid)} Password
              should contain a number
            </span>
            <br />
            <span>
              {toggleIcon(passwordPolicy.specialCharacter.isValid)} Password
              should contain one special character
            </span>
            <br />
          </div>
          <div className="col-md-6">
            <span>
              {toggleIcon(passwordPolicy.upperCase.isValid)} Upper case letter
              required
            </span>
            <br />
            <span>
              {toggleIcon(passwordPolicy.lowerCase.isValid)} Lower case letter
              required
            </span>
            <br />
          </div>
        </div>
        <div className="row pt-md-5">
          <div className="form-group">
            <label> Confirm Password</label>
            <input
              type="password"
              className="form-control"
              placeholder="Confirm Password"
              onChange={handleConfirmPasswordChange}
            />
          </div>
        </div>
        <button
          type="submit"
          className="btn btn-black"
          disabled={buttonStateDisabled}
          onClick={handleButtonClick}
        >
          Submit
        </button>
      </form>
    </div>
Enabling and disabling password submission button
We will use React useEffect to detect updates to the password and confirm password input fields and then evaluate whether to enable our submit button.
useEffect(() => {
    if (isPasswordValid(password) && password === confirmPassword) {
      setButtonStateDisabled(false);
    } else {
      setButtonStateDisabled(true);
    }
  }, [password, confirmPassword]);
Finally, we set up a handler for a button to submit the password to an API
const handleButtonClick = () => {
    // Call some API and send password
    // console.log(password);
  };
Written by:
I am a Software / UI developer with interests in Search Intensive applications, Information Architectures(IA), UX/UI, FRP, and Reusable Frontend Components Design.